
Activist Style
How to Make a Protest Sign That People Can Read
Choose a clear message, check your facts, and make a readable protest sign with simple materials and a practical plan.

A protest sign should give someone one clear thing to understand, even when they are walking past, standing across the street, or looking at a photo on a small screen. You do not need a design degree or a perfect slogan. You need a message you can stand behind, lettering people can read, and a board you can comfortably carry.
This guide explains how to make a protest sign for a peaceful U.S. demonstration, from choosing your demand to checking the finished board. The same design steps work for a community meeting or a permitted display. If you are still choosing how to participate, start with our Action Desk and free civic resources. A good sign belongs to a wider plan for action.
These are practical design suggestions, not legal advice or a guarantee about entry to any event. Local rules, venue restrictions, and individual circumstances matter. Read the organizer's instructions before buying materials, particularly if you are thinking about adding a handle.
1. Decide what your sign is asking for
Write the change you want in a full sentence first. What should happen? Who has the power to make it happen? Who needs to hear that request? Those answers stop a sign from becoming a collection of disconnected feelings. Anger can tell you why you care. A clear demand tells other people what you want done.
For a hypothetical library campaign, the long version might be: “I want the city council to preserve funding for the neighborhood library in the next budget.” The sign version could be “Fund Our Library.” That example is a writing exercise, not a report about an existing campaign. Try the same approach with the issue you are actually supporting.
Ask the organizers whether they have a shared demand or wording they want supporters to use. Match their request rather than guessing on their behalf. If a group is campaigning for one specific policy, a general message about kindness may not help explain that policy. There is room for personal expression, but start by understanding the work already underway.
A sign can also express solidarity without proposing legislation. In that case, be clear about who you are supporting and avoid speaking as though you represent a community you have not consulted. Our mission centers learning and everyday participation. Both begin with listening.
2. Shorten the message and check every claim
The University of Cambridge's Fitzwilliam Museum sign-making activity recommends reducing a phrase to three to five strong words and thinking about who will read it. Treat that as a helpful starting point, not a rule that every sign must follow. A slightly longer, plain request can be better than a short phrase nobody understands.
Draft several versions on scrap paper. Try one that names the issue, one that names the desired change, and one that addresses the decision-maker. Read each out loud. Remove introductions such as “I believe that” when they take space without adding meaning. Keep a word if removing it changes the claim or hides an important condition.
Humor can invite attention, but make sure the actual point survives the joke. An inside reference may work among friends and confuse everyone outside the group. Avoid wording that humiliates a whole group of people, turns a disability into an insult, or makes a threat. You can criticize an institution, policy, or public decision in direct terms without dehumanizing anyone.
Numbers need particular care. Before putting a statistic on your board, find its original source and check the year, location, population, and definition. A national figure cannot automatically describe your city. An old survey cannot automatically describe today. If the context will not fit, use a truthful demand without the number and share the source separately.
Our civic lexicon can help you think through unfamiliar terms. Check the specific meaning before using legal language as a slogan. A dramatic phrase is not worth carrying if you cannot explain what you mean when someone asks.
3. Choose a board you can actually carry
Begin with materials you already own. A clean cardboard panel, pencil, ruler, thick marker, and tape can be enough for a basic sign. Check the panel for food stains, weak folds, or an old address label before using it. Cover or remove personal information on reused packaging, including on the back.
Cardboard is easy to find and can be reinforced with another panel, although creases may make the writing surface uneven. Poster board offers a smooth surface but bends easily without support. Foam board stays flatter, while corrugated plastic can suit repeated outdoor use. None is the universal best option. Match the material to your budget, event rules, carrying comfort, and expected weather.
Do not choose the largest board simply because it looks impressive at home. Hold a blank panel in front of you, move through a doorway, and check whether it blocks your own view. Consider the trip there and back, including transit, stairs, or a wheelchair. A manageable sign you can carry comfortably is more useful than one you need to put down after a few minutes.
For a first attempt, build a small version before committing to a large panel. You can check the message and layout without wasting supplies. Avoid sharp corners, exposed staples, protruding fasteners, or materials that could injure someone in a crowded space. Follow product instructions when cutting, painting, or using adhesives.
4. Plan the layout before you ink it
Lay the board flat and draw light pencil guides. Give the headline most of the space and keep a clear margin around it. People should be able to find the beginning of the sentence without searching through drawings, logos, and small notes. If you want a secondary line, add it only after the main request works on its own.
Write the full phrase in pencil before tracing any letters. This avoids the familiar problem of a huge first word followed by tiny, crowded letters at the right edge. Count the space you need, place the longest line first, and keep words that belong together on the same line where possible. A line break should help someone read the thought.
The sample above uses a plain headline and an optional next step. It is deliberately simple. Make your own version with your actual campaign's request. If the extra line becomes too small, remove it and put that information on a separate handout or the organizer's approved webpage.
A drawing can help when it clarifies the message. A decorative border that steals space from the words usually does not. Leave room to grip the board without hiding the demand. If you will hold it from both sides, check those positions before committing to the final layout.
5. Make the lettering easy to read
Use broad strokes, simple letter shapes, and strong contrast between the letters and board. Dark lettering on a light surface is a straightforward starting point. Test your marker on a spare piece of the same material before writing the main sign. Some markers soak into cardboard; others smear on coated surfaces.
Choose one main lettering style and stay with it. Decorative scripts can be hard to read when the board moves. Thin outlines may disappear at a distance. Filling the letter shapes with a solid color usually gives a clearer result. If you use an accent color, keep the words understandable without relying on that color alone.
For printed letters, make a rough paper layout before ordering anything. Ask the print shop what file size and resolution they need for the finished board. A picture that looks sharp on your phone can look rough when enlarged. Proofread the exact final file, including punctuation and names, before approving a print.
Stand farther back while another person holds the draft. Ask them to tell you what it says without prompting. If they miss a word, the problem may be crowded spacing, weak contrast, or a confusing line break. Fix that before adding more decoration. Testing beats guessing.
6. Check handles, weather, and event rules
Check the event's current instructions for prohibited items, sign sizes, and handles. Do not assume that a wood pole, metal attachment, or rigid support is allowed because you saw one at another rally. Ask the organizer when instructions are unclear. A handle-free sign is a useful option when you cannot confirm what supports are permitted.
The ACLU's Protesters' Rights overview explains that the First Amendment protects protest while allowing certain narrow government restrictions. That broad principle does not settle the rules for your particular location. Review current local guidance and our Pocket Rights resource, then seek qualified legal advice for a personal legal concern.
For weather protection, test a small sample first. A transparent cover may protect paper but create glare. Tape across the edges can reduce peeling, yet it will not make every cardboard board waterproof. Let paint and glue dry fully according to their labels, and check whether the surface becomes tacky when damp.
Make a realistic plan for wind as well as rain. A broad board catches wind and can become tiring to hold. If conditions make your chosen sign impractical, bring a smaller one or leave it behind. Do not tie a heavy sign to your body just to keep your hands free. Comfort, visibility, and safe movement matter more than carrying every item you planned.
7. Test the finished sign and plan your arrival
Do a final check in daylight. Read the sign from across a room, photograph it, and view the image at a small size. Check both sides for spelling, private details, old labels, and loose attachments. Hold it for several minutes and see whether your hands cover the words or the board blocks your view.
Confirm the event location and meeting time using the organizer's current announcement. Know how you will get home and where you will meet a companion if you become separated. Ask about accessible routes, seating, or other accommodations you need. Preparing for your own needs helps you decide whether this event and role are right for you.
Think before posting a photo. The Electronic Frontier Foundation's protest privacy guide recommends seeking consent from identifiable people before sharing their images and discusses how photos can reveal identifying details. A picture of your sign against a plain background may be enough to share the message without exposing other people.
If a demonstration is not a good fit, you still have ways to act. You can help prepare materials for an organizer, contact an official, or participate in a community meeting. Our guide to becoming an activist explains how to choose a task that fits your time and circumstances.
8. Keep the message useful after the event
A sign is part of a conversation, not the whole campaign. After the event, find the organizer's next request. They may need help sharing a meeting notice, checking a public document, or welcoming new volunteers. Do one specific follow-up rather than assuming a photograph completes the work.
Keep your sign if the message still applies. Repair loose edges and store it flat in a dry place. If a statistic, date, or policy reference changes, update the sign before using it again. Recycle materials where your local program accepts them, and remove components that belong in a different waste stream.
Before your next event, use this short checklist: one clear request, checked claims, readable lettering, comfortable size, no exposed personal details, confirmed event rules, and a plan for getting home. Those basics give you a stronger foundation than an expensive print or an elaborate design.
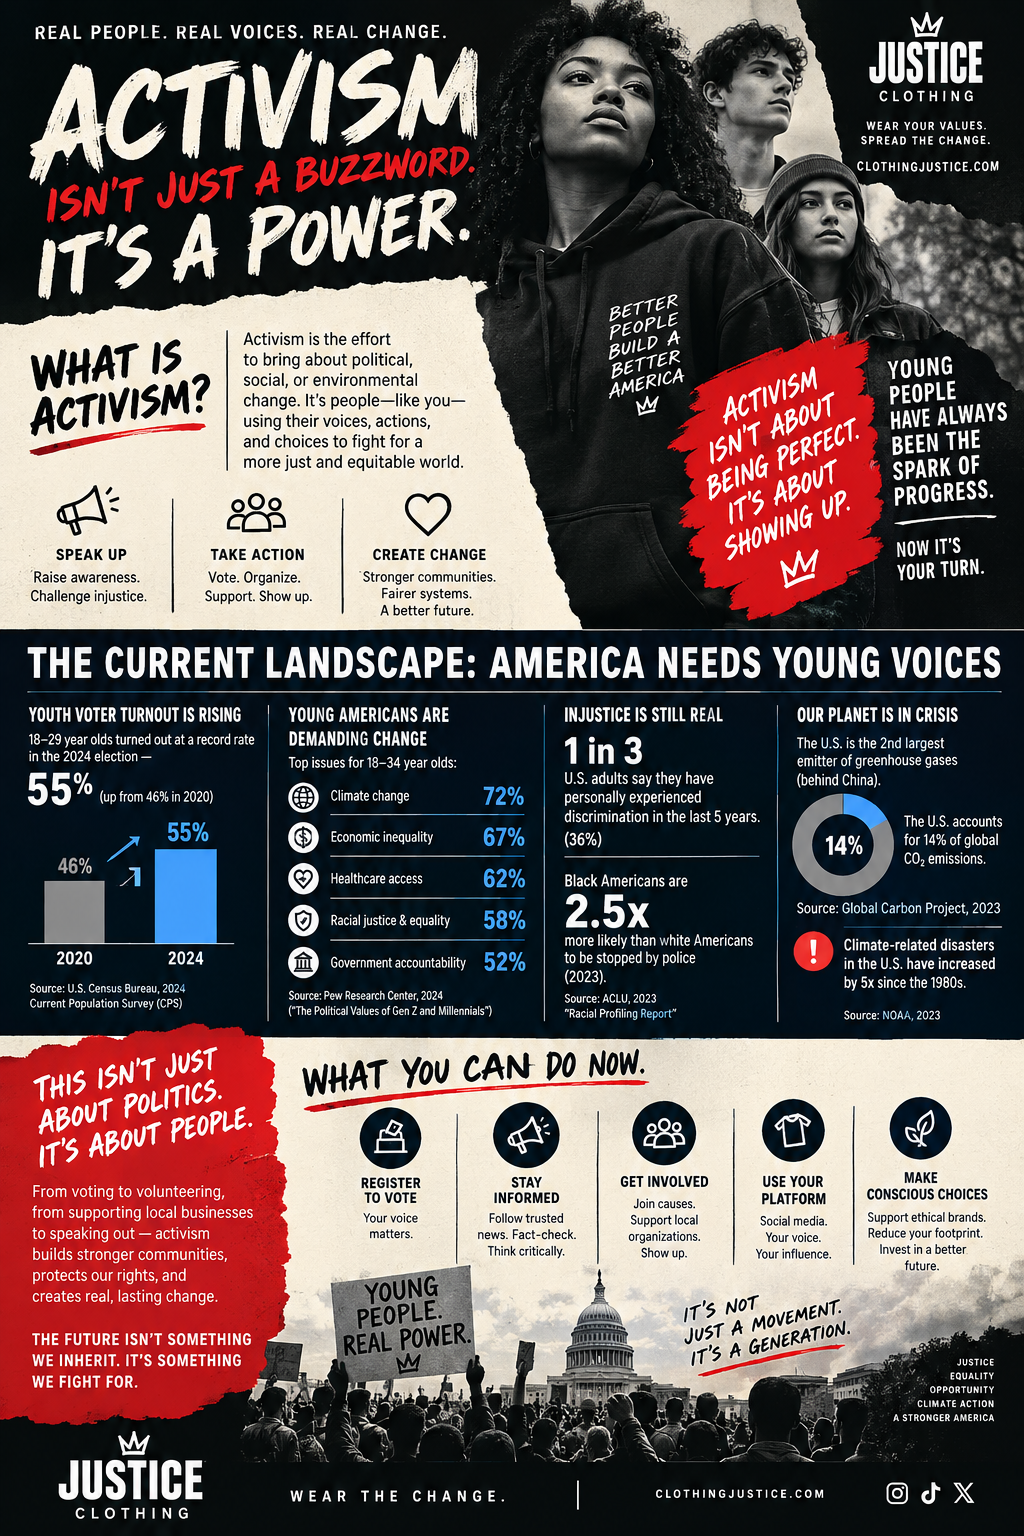
The Activism Is a Power poster companion offers a place to reflect on civic participation. Treat the poster as creative encouragement, and use current primary sources for any factual claim you put on your own sign. Our Activism Starts With You resource connects that encouragement to practical next steps.
Carry the conversation into everyday life
Clothing Justice's Rally of 1 is built around everyday participation, including the days you cannot attend a march. If you want an optional piece that opens a conversation, explore the Who Gets a Say? T-shirt or the Personalize My Rally of 1 zip-up hoodie. Buying clothing is optional. The useful work starts with learning, listening, and following through.
Frequently asked questions
What do I need to make a protest sign?
A clean board, pencil, ruler, broad marker, and tape are enough for a basic sign. Start with materials you already own, choose one clear message, and check the organizer’s current rules before adding a handle or other support.
How many words should a protest sign have?
Start with a short headline that someone can understand at a glance. Three to five words can be a useful drafting target, but clarity matters more than an exact count. Keep any qualification that is necessary to make the message truthful.
Can I put a statistic on my protest sign?
Yes, if you have checked the original source, date, population, and location and can communicate the claim accurately. If the required context will not fit, use a truthful demand without the number and share the source separately.
Are sign poles allowed at protests?
There is no universal answer. Check the current organizer and venue instructions and relevant local guidance. Ask the organizer if the rules are unclear, and consider a handle-free sign when you cannot confirm whether a support is allowed.
Related posts

Activist Style
Activism Isn’t Just About What You Stand For. It’s About How You Stand for It.
A guide to handling disagreement, protecting your peace, keeping yourself safe, and remembering why you started in the first place.
Read the guide →
Activist Style
How to Become an Activist: Start Where You Are
Find a cause, listen to your community, and choose a first action you can keep doing. A practical guide to everyday activism.
Read the guide →
Activist Style
What Is Activist Clothing? A Guide to Wearing Your Values
A practical guide to choosing message-driven clothing, wearing it with care, and letting it lead to action.
Read the guide →Activist Style
Activist Outfit Guide: What to Wear and Bring
A practical guide to putting together an activist outfit that is comfortable, considered, and ready for the day ahead.
Read the guide →
Activist Style
Activist Clothing Brands: What to Look For Before You Buy
A practical guide to choosing message-driven clothing that feels honest, wears well, and supports the values you want to carry.
Read the guide →
Activist Style
Protest Fashion: Wearing a Message With Care
A practical guide to the history, choices, and follow-through that give protest fashion real staying power.
Read the guide →
Activist Style
Political T-Shirts: Choose a Message You’ll Wear
A practical guide to choosing a political T-shirt with care, context, and a message that fits your everyday life.
Read the guide →